It’s an exciting time when FedEx delivers a Mooncool e-bike or e-trike. You’ve completed the research, budgeting, and ordering for your new ride, and now it has arrived.
This article is not a substitute for the Mooncool instructions. Be sure to locate and read the included user instruction booklet. I make no representation that my methods are better or more safe than those in the Mooncool manual. I accept no responsibility for damage to anything as a result of these instructions. I recommend reading this article in its entirety before you begin unboxing your trike. Use at your own risk.
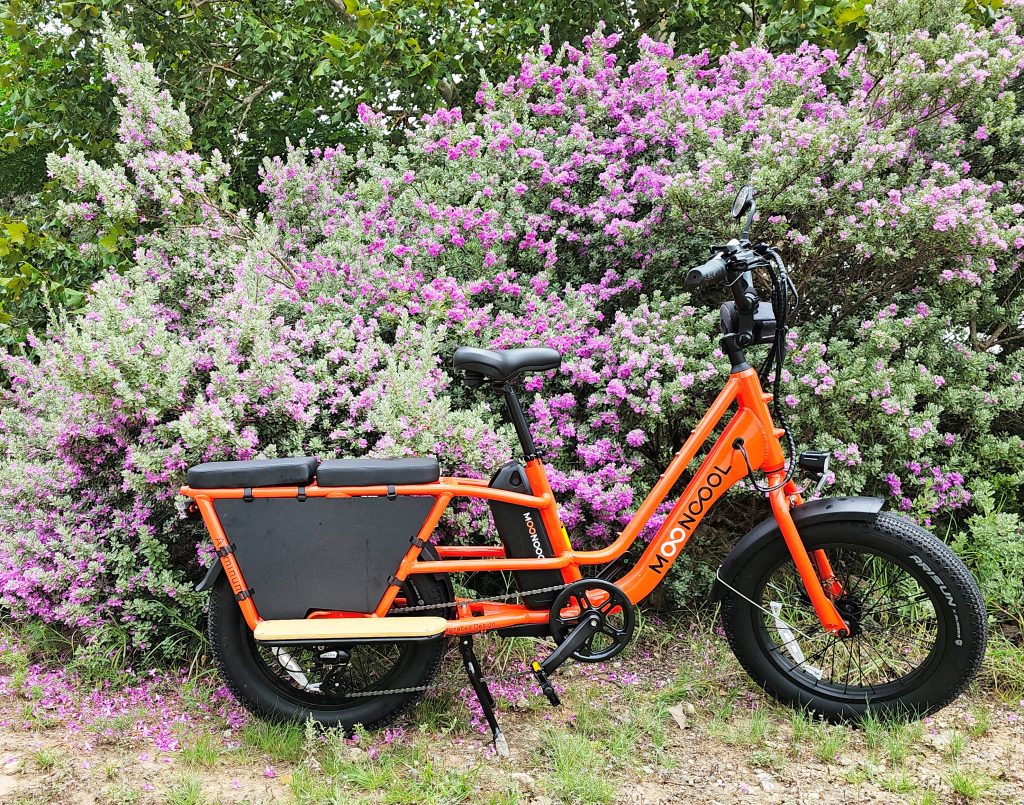
Here’s the Mooncool CG2 Cargo E-bike delivered and ready to be unboxed.

Step 1
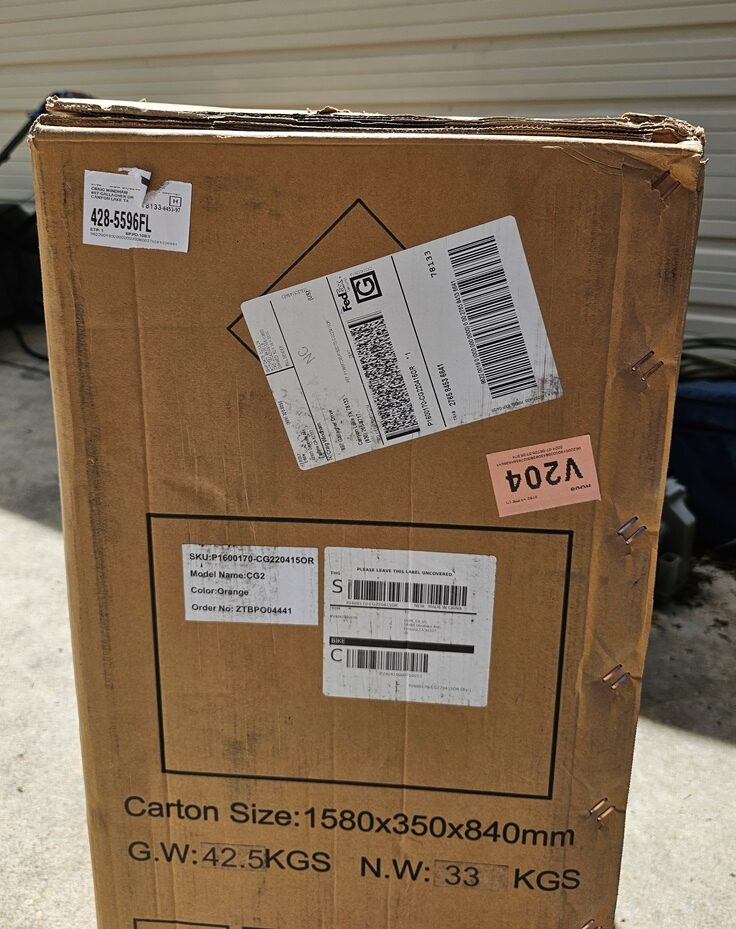
Take a photo of the shipping box before you open it. This is especially important if the box is damaged in any way. Then take another photo focusing on the labels:
Step 2
Open the box, carefully prying and pulling. You want to get it open and still preserve the integrity of the box, just in case of the unlikely event that you need it for returning the CG2.
You can use your own tools for assembly, or the ones Mooncool provides. The set of Mooncool tools is surprisingly nice.
Notice how well-packed the CG2 is, with everything protected from damage. Mine arrived without even a tiny scratch anywhere on the shiny paint!
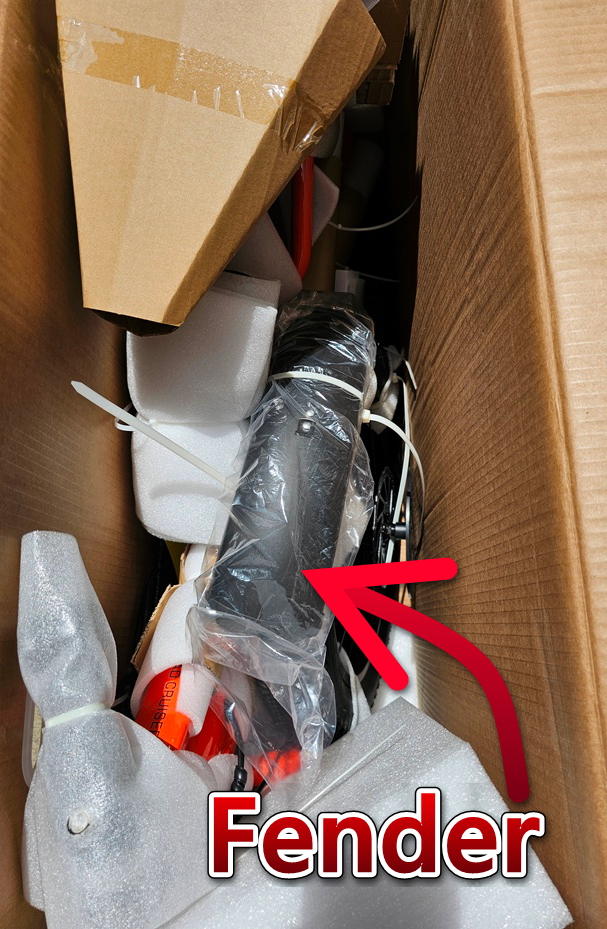
Carefully remove the front fender and set it aside.
Step 3
Remove any protective packing material that is not zip-tied to the CG2. Put it aside and later throw it back in the box for safe-keeping. Now carefully lift the CG2 out of the box. This is easier to accomplish with a helper.
After the e-bike is out of the box, carefully lower the kickstand and use it to balance the CG2 on the ground. Don’t worry…it will keep the bike from falling.
Step 4
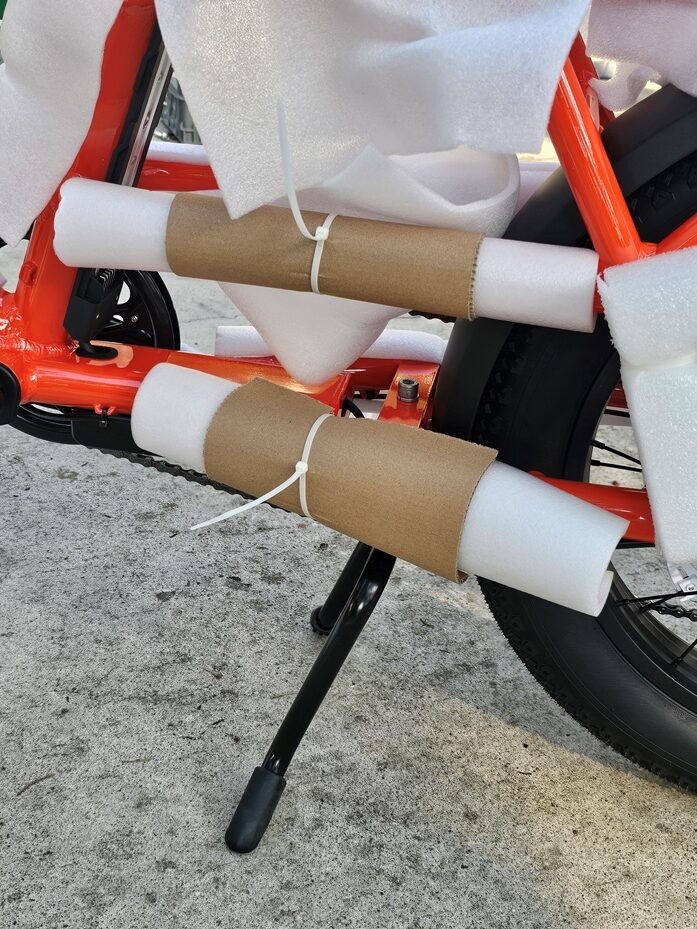
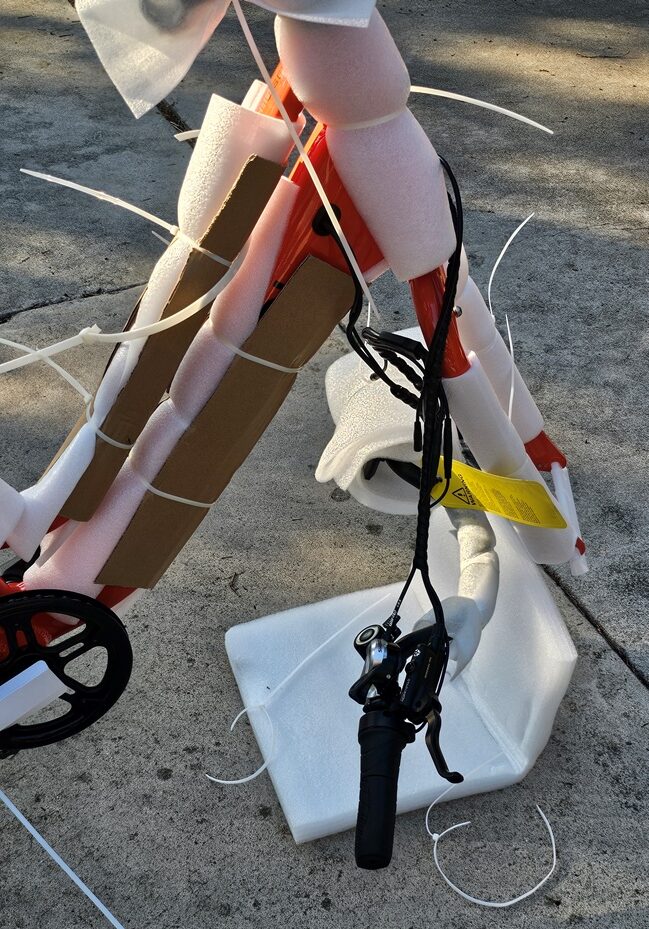
Mooncool does an exemplary job of protecting your CG2 for shipping. Now it’s time to remove all that great protection. You can use either a knife (careful!) or a pair of snips.
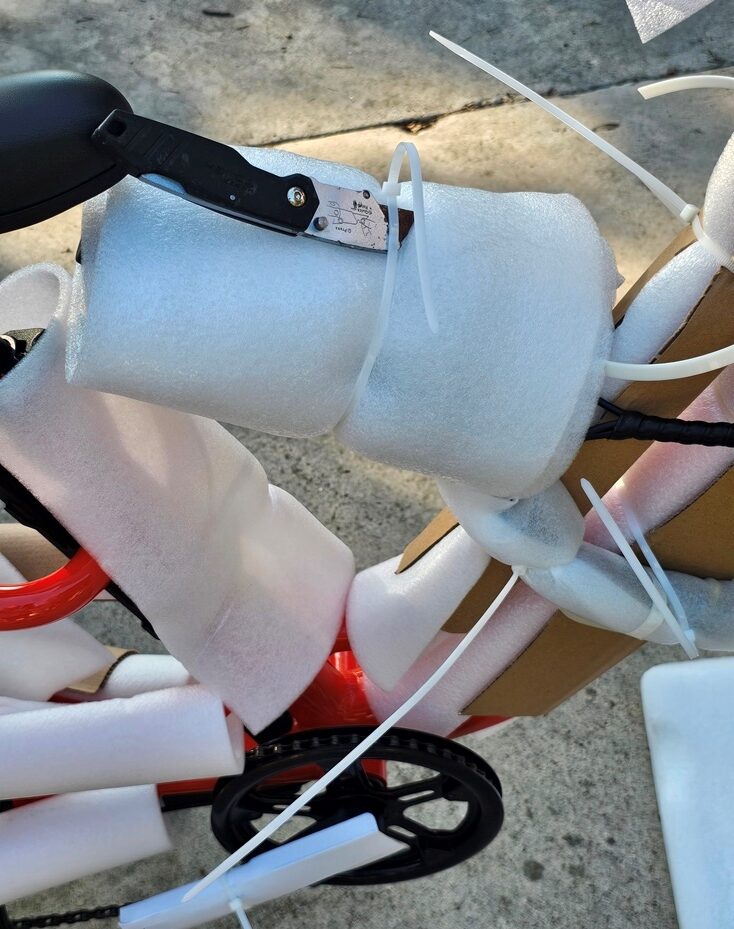
When you have released the handlebar, it’s fine to let it hang on the attached brake and shift cables while you continue removing packing materials.
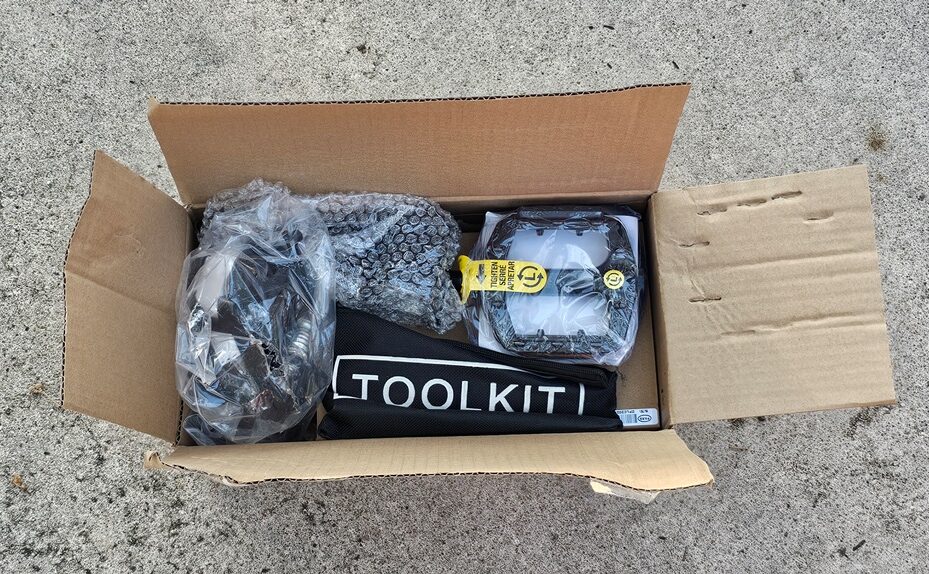
When you have the battery exposed, locate the charger in this box:
And plug it first into the battery charging port and secondly plug the power cord into an electrical outlet or extension cord.
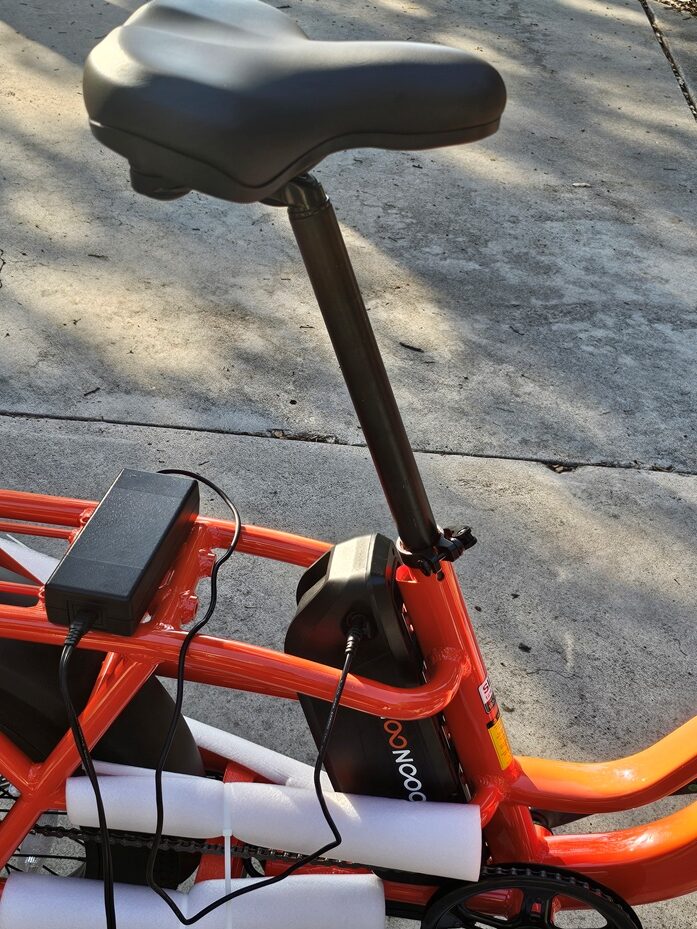
Now continue removing the protective packing material while your battery is charging. It will need about 5 hours for a full charge, but by the time you have the bike ready to ride, it should have enough charge for a short ride just to verify that everything is working.
Step 5
In the same box where you found the charger, you will also find the pedals.
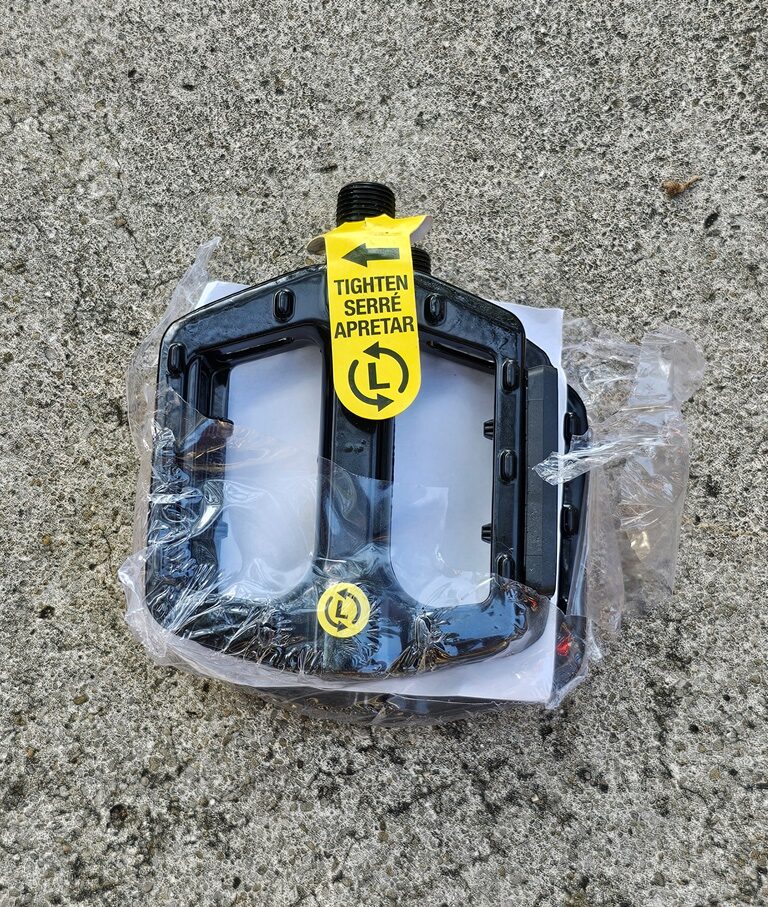
If you are new to bike assembly, leave the instructions in place that show the turning direction for attaching the pedals. Attach both pedals securely.
Step 6
Loosen as shown and elevate to the top position in preparation for attaching the handlebar — you can always lower it later if desired:
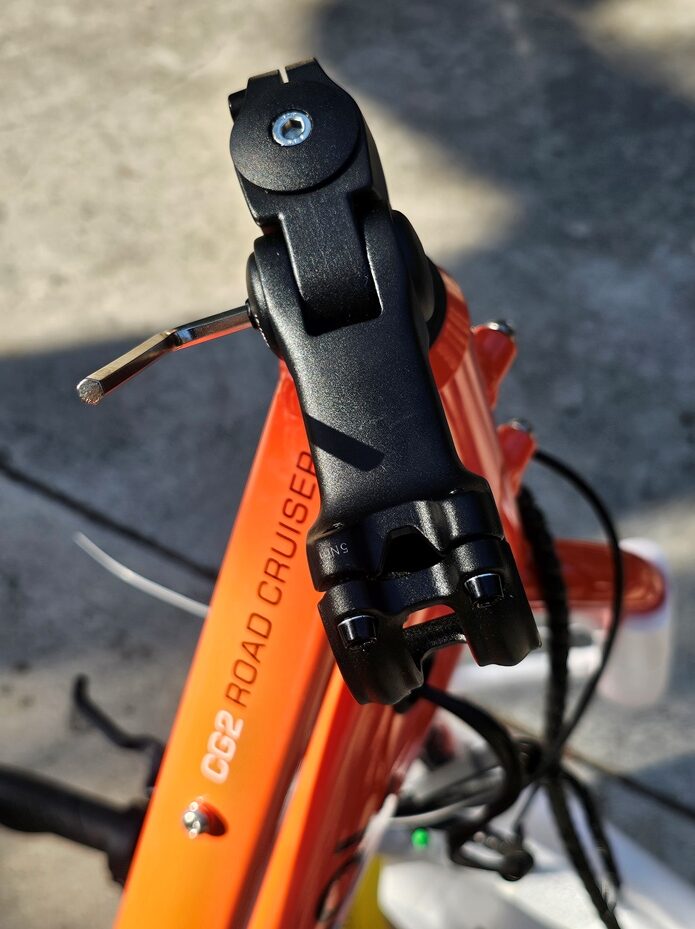
When you have it in the top position, tighten it a bit as shown:

Now loosen and remove all for bolts as shown:
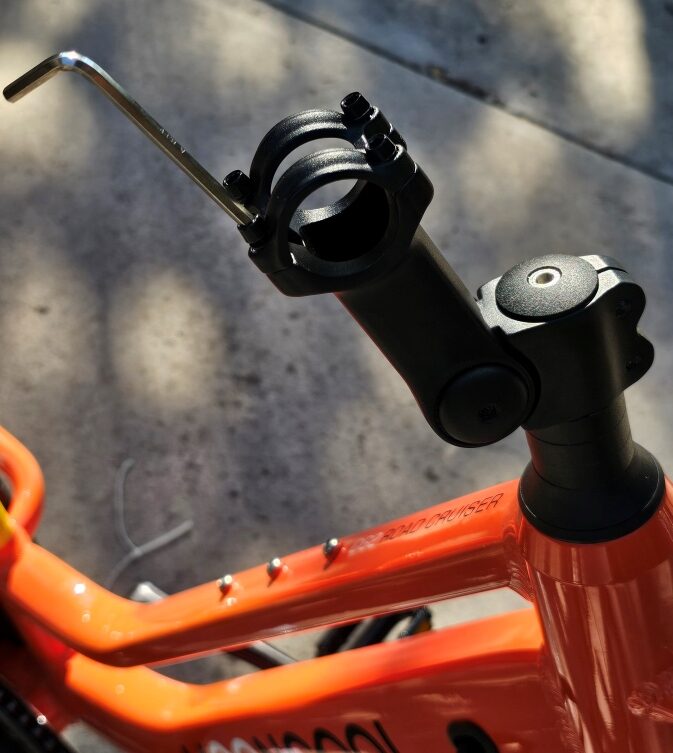
Move the handlebar into position being sure the traction grooves are centered in the clamp. Insert all four bolts and tighten until loosely snug. You will adjust and tighten further a little later.

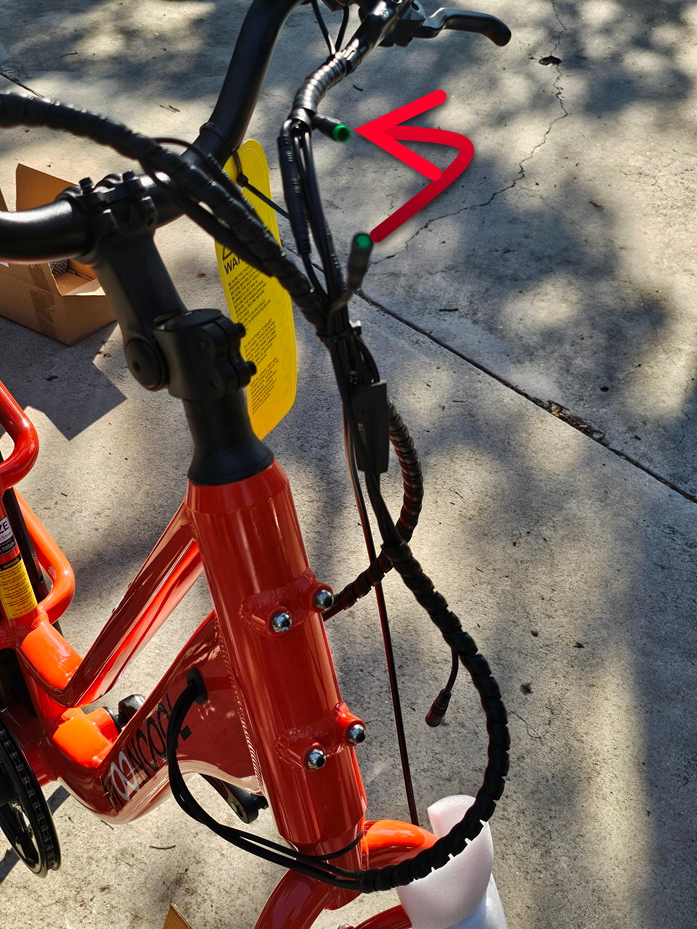
While you’re at the handlebar, take a moment to connect the indicated plugs. Look closely at the ends of the plugs to note how they line up. When you are sure they’re in position, push them together firmly.
Step 7
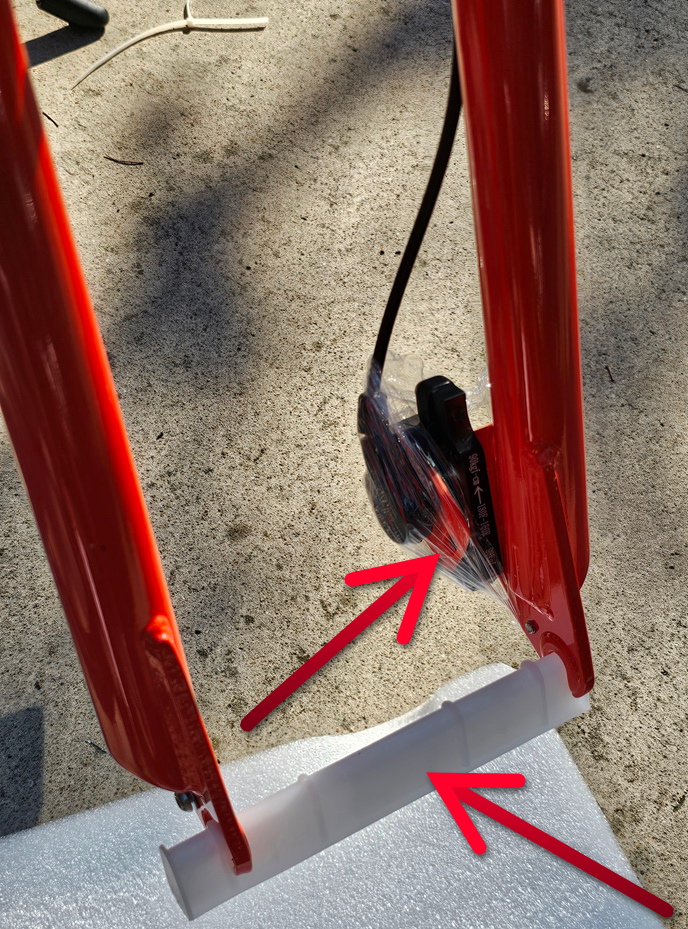
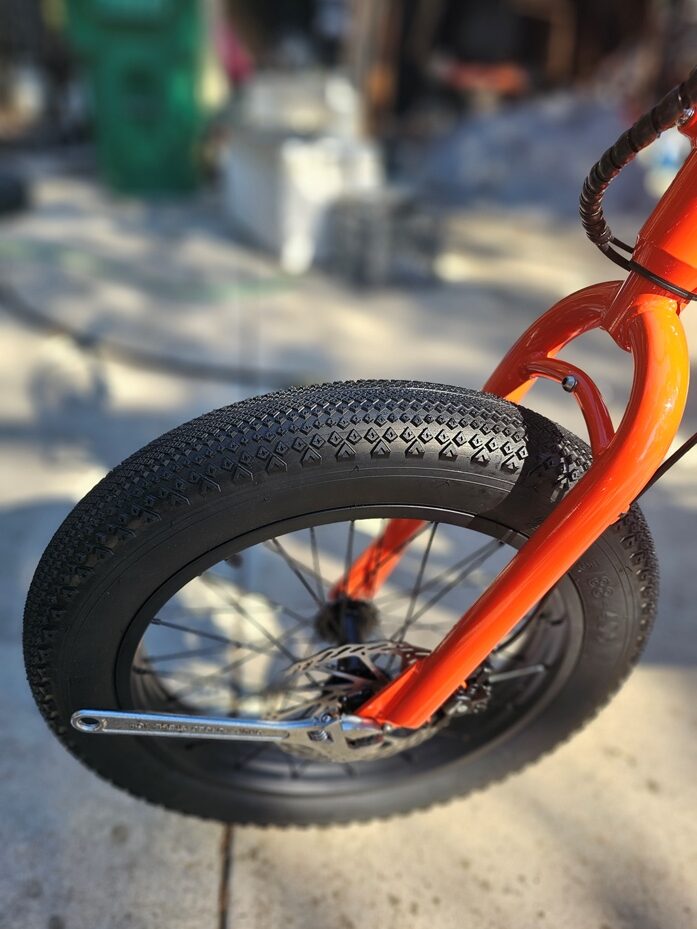
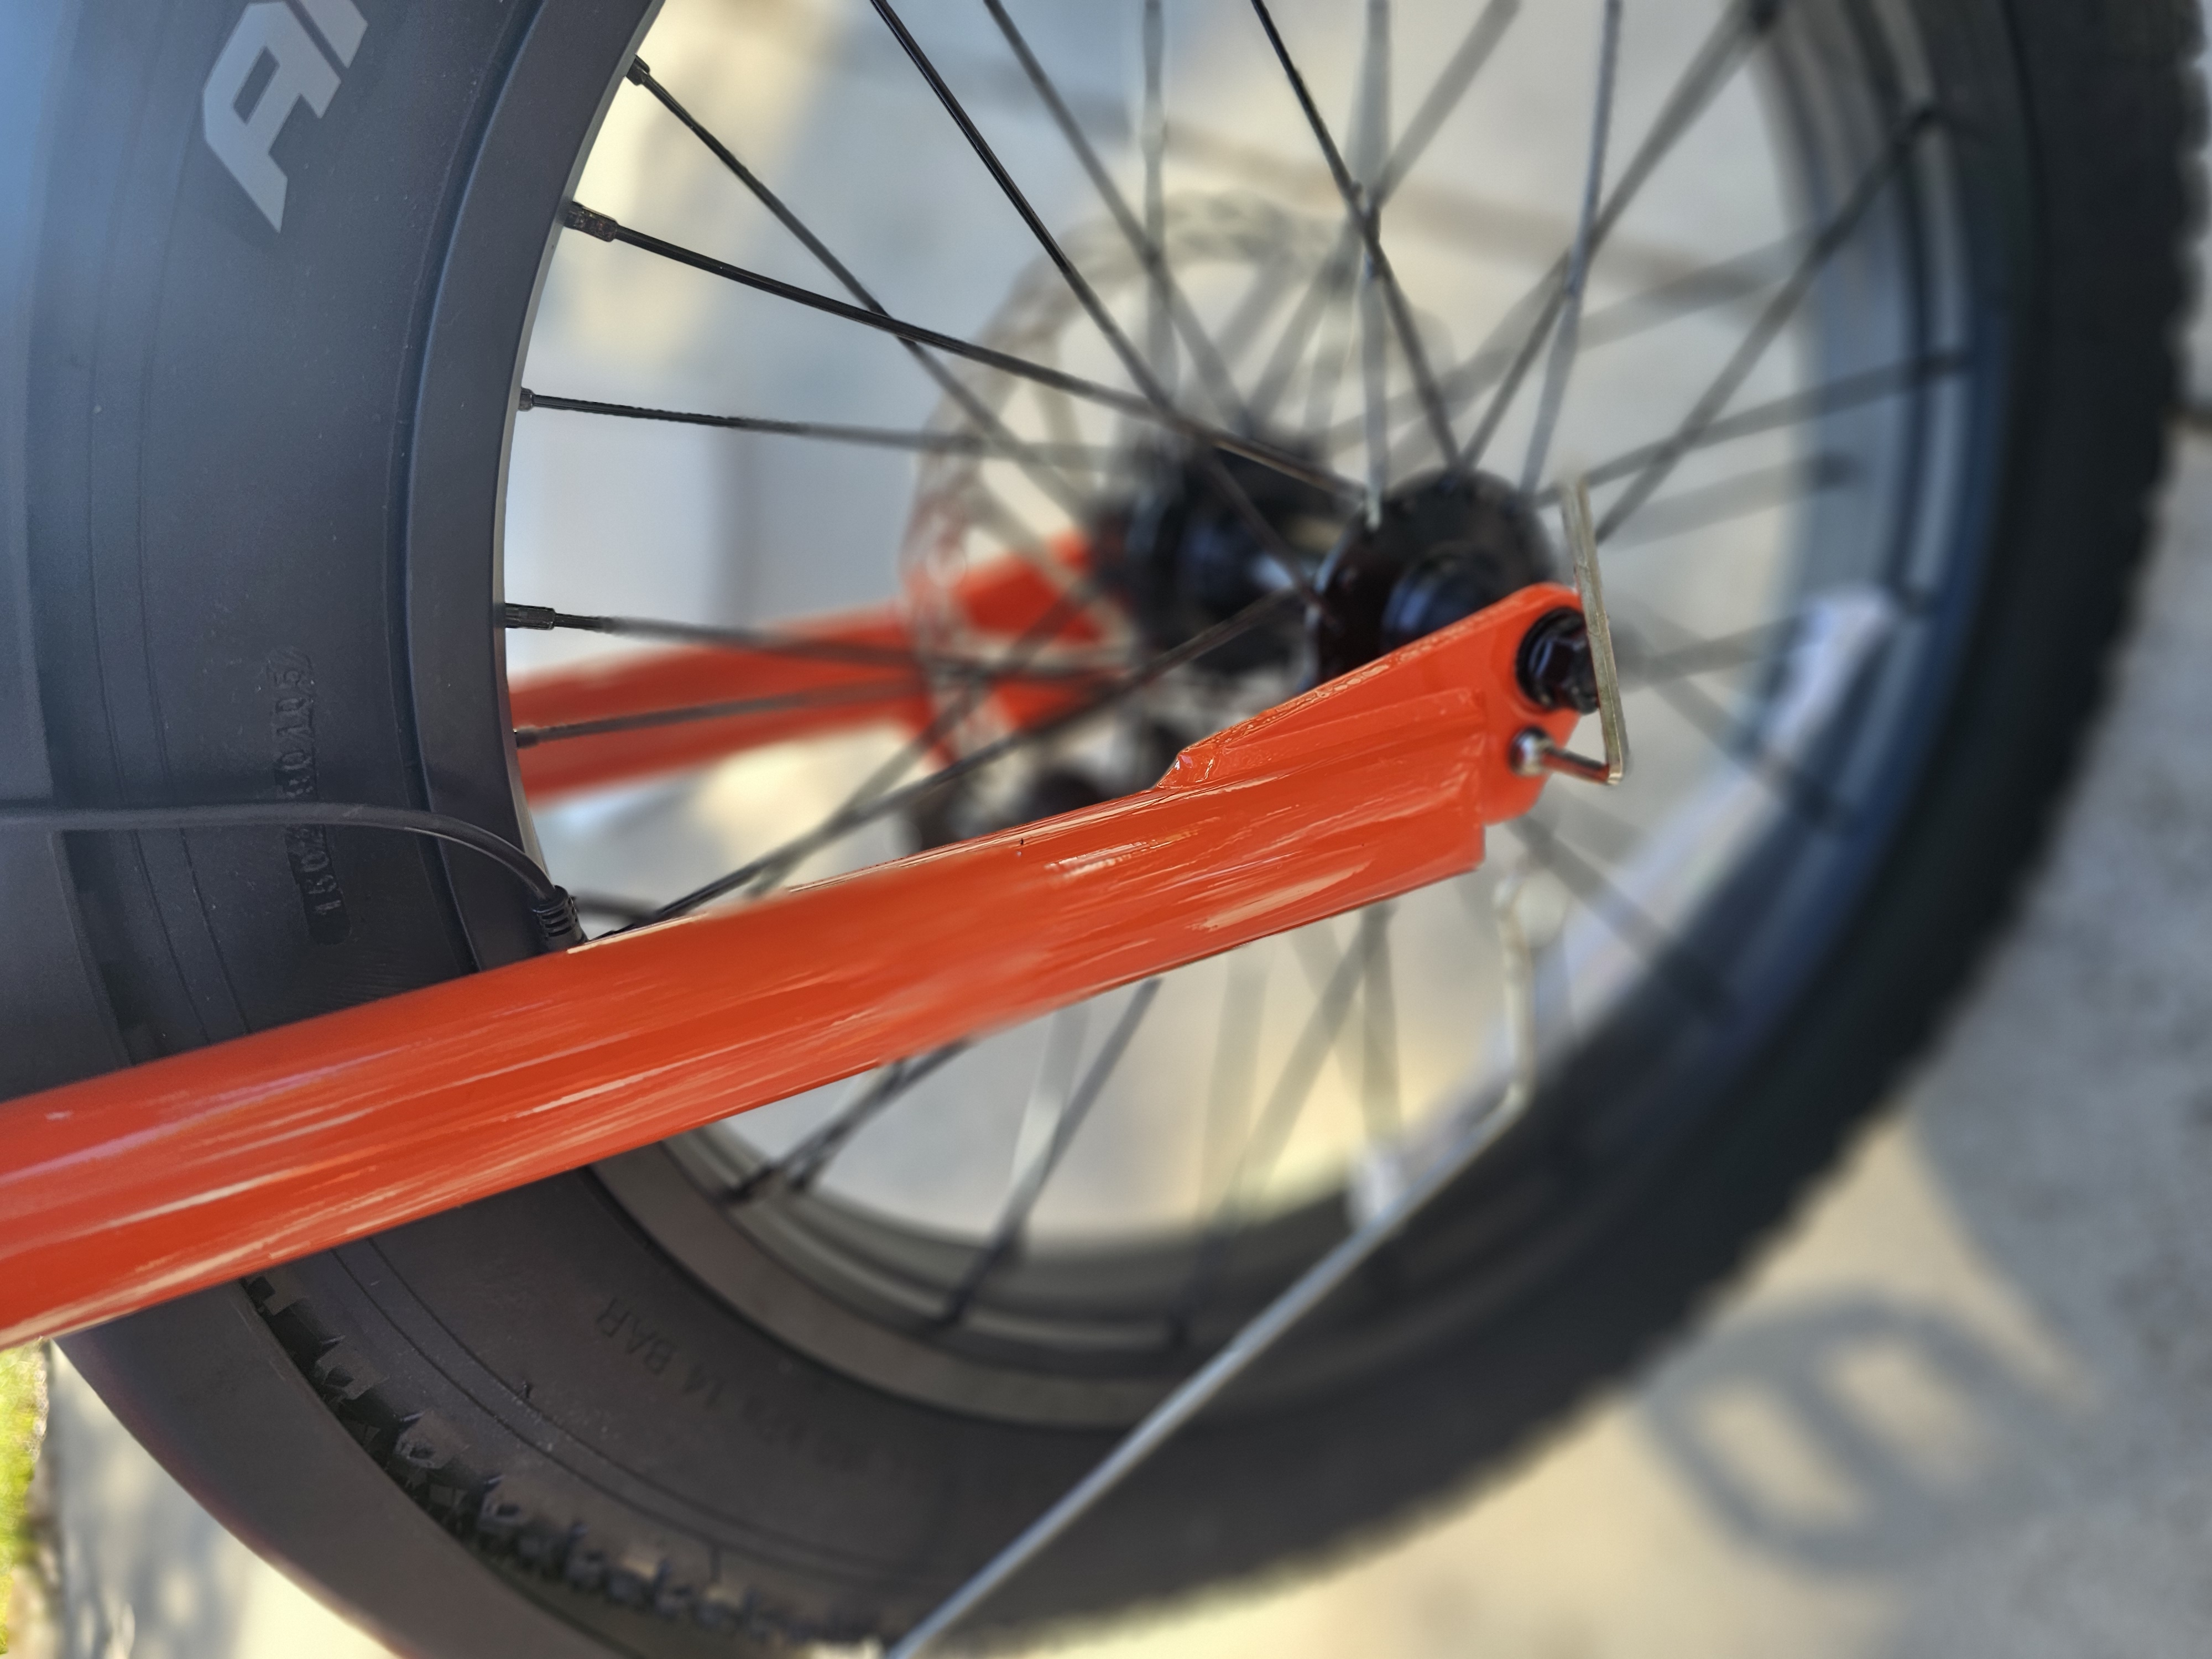
Prepare to mount the front wheel. First, remove the indicated front fork spacer. Then remove the plastic wrap and the orange insert from the brake pads.
Locate your front wheel and remove the protective packing material on both sides:
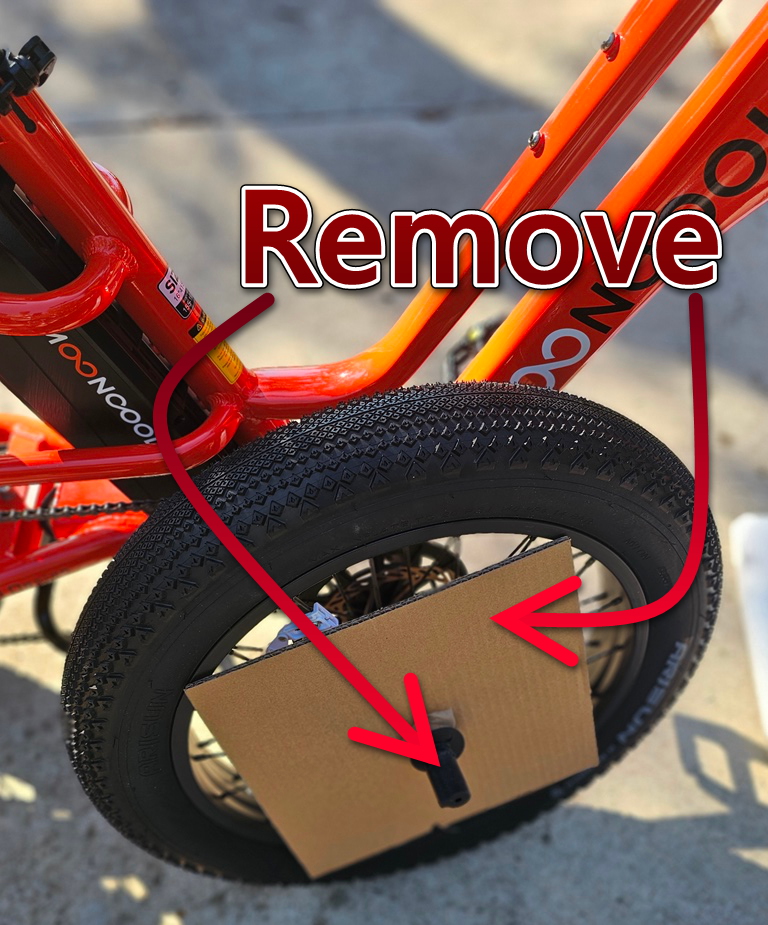
And…
If you have the bike on the kickstand with the front end elevated, it is now very easy to roll the wheel into place. First, back the nut on both sides of the axel to the very end…but don’t remove it. This allows room for the front forks to slip into place on the axel.
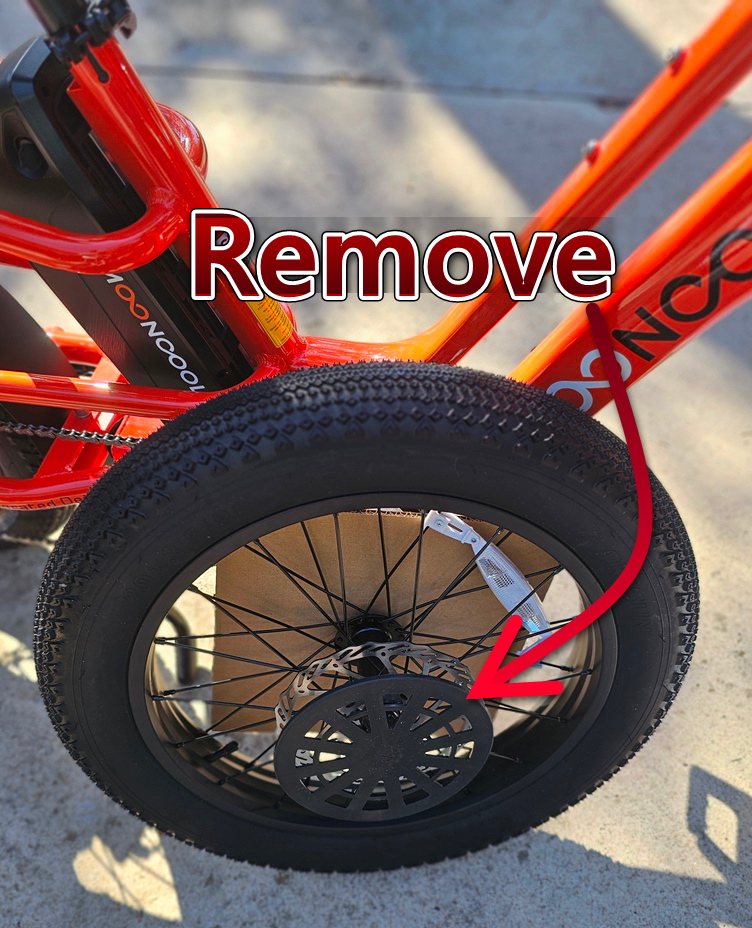
The disc slides between the brake pads as indicated by the arrow below, and the front fork rests on the axel.
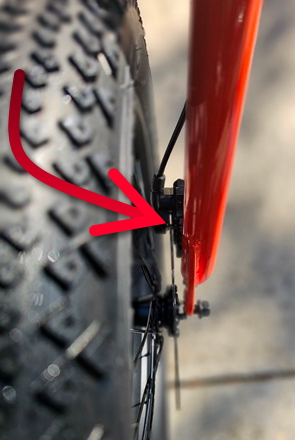
Check to be certain everything is in the proper position, and then tighten the axel nut on both sides Tighten one side until the nut is just barely snug, then do the same on the other side. Then you can fully secure both sides firmly…you don’t want the wheel coming off while riding!
Step 8
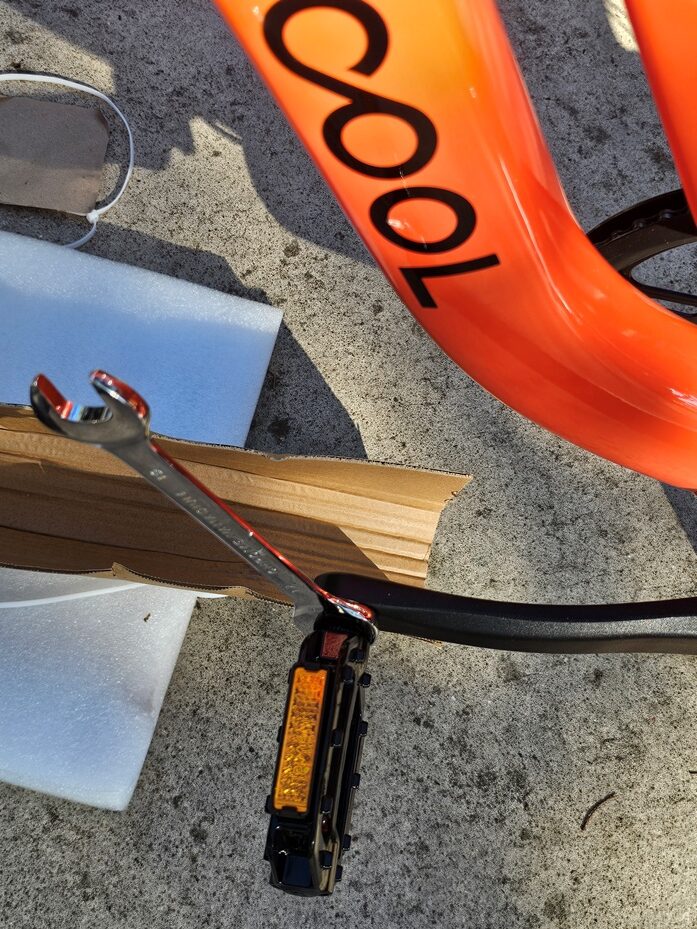
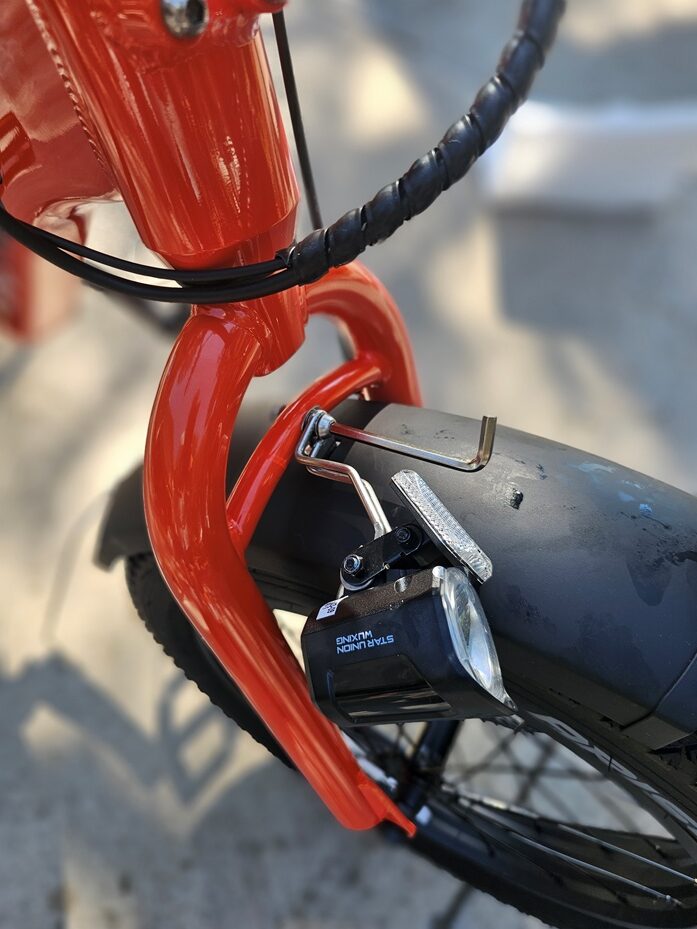
Remove the bolt on the front fork as shown, in preparation for attaching the front fender and headlight:
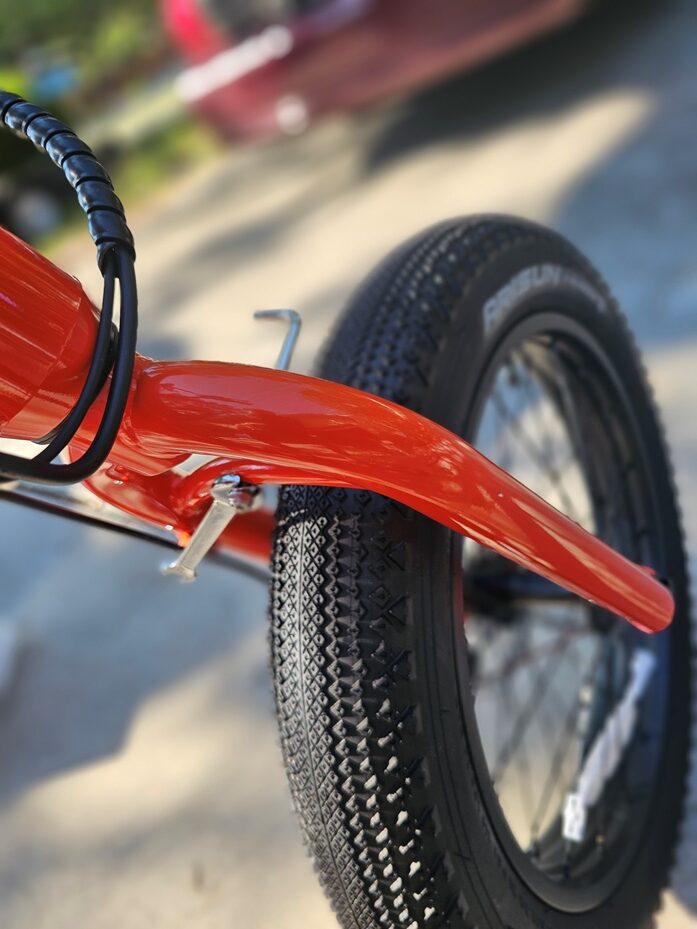
Grasp and squeeze the fender supports with one hand, and slide the supports and fender over the tire and under the front fork crosspiece. Insert the bolt through the headlight mount, and loosely tighten the nut. Do not fully tighten until after the supports are attached.
Remove the bolt and attach the fender supports as shown below:
After the fender supports are secured, return to the headlight and tighten the bolt firmly. It’s easier if you ask someone to hold the headlight in position while you tighten the nut.
Step 9
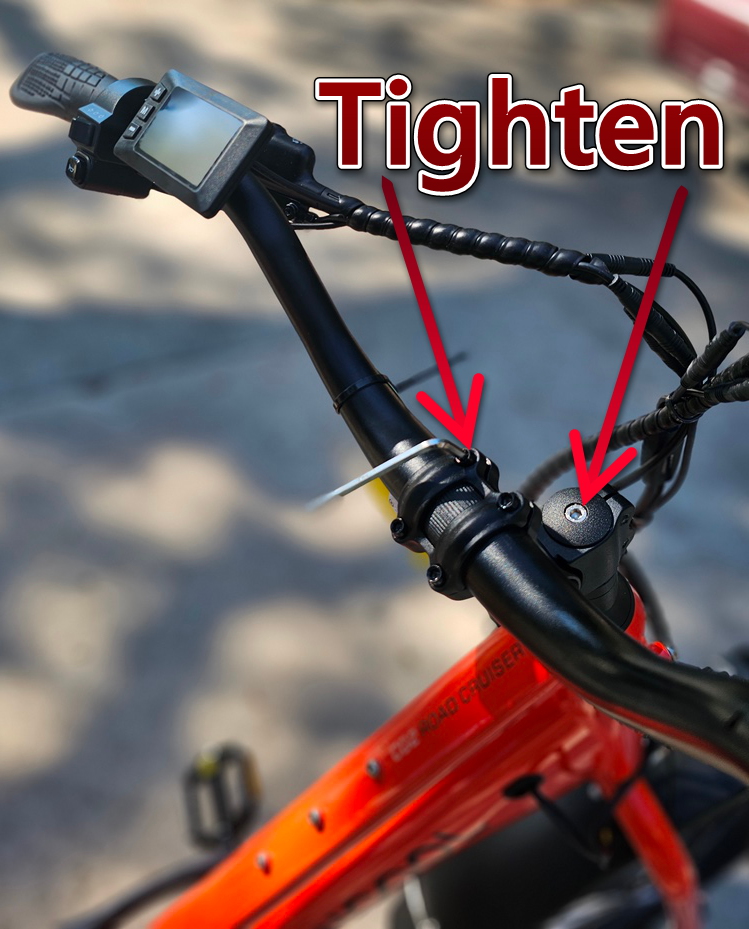
Now it’s time to adjust and secure the handlebar. Experiment to find your preferred position, and make sure it is lined up with the front wheel. Then fully tighten the bolts in a cross pattern…lower right bolt, then upper left bolt, etc.
Step 10
And now the final step! Inspect your CG2 from front to rear, ensuring that everything is properly tightened and adjusted. Adjust the seat height. If you removed the battery for charging, re-install it. Ride safely and please follow the suggestions listed here.